Custom Account Groups
When running Reports, you can choose Custom Account Groups that contain only the accounts you want the report to show. In order to use Custom Account Groups you must first set it up on the Custom Account Groups screen.
To access the Custom Account Groups screen:
- Choose Manage Accounts in the Button Bar at the top of the screen
- Click the Custom Groups button
OR
- It can be opened from the Custom Account Groups tab of the report that makes it available.
Setup new Custom Account Groups
- Click the Add
 Add button under Account Groups on the right side of the screen:
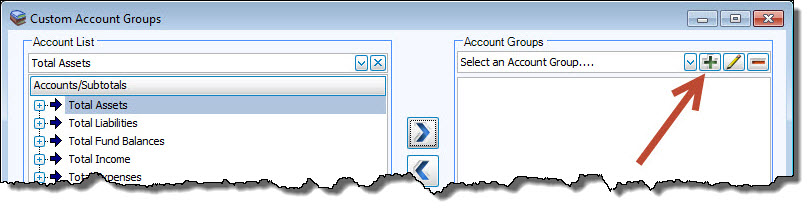
- On the message that appears, type in the desired Group Name and click OK.
- Click to select the desired items in the Account List and click the
 right button to add the item to the list below the Account Groups.
 - To remove an account from the selection list, click it in the list below Account Groups and click the left button.
Select another Account Group from the box if you would like to change or remove the name. Then, click either the  edit button to change the name, or the
  delete button to delete it.
